
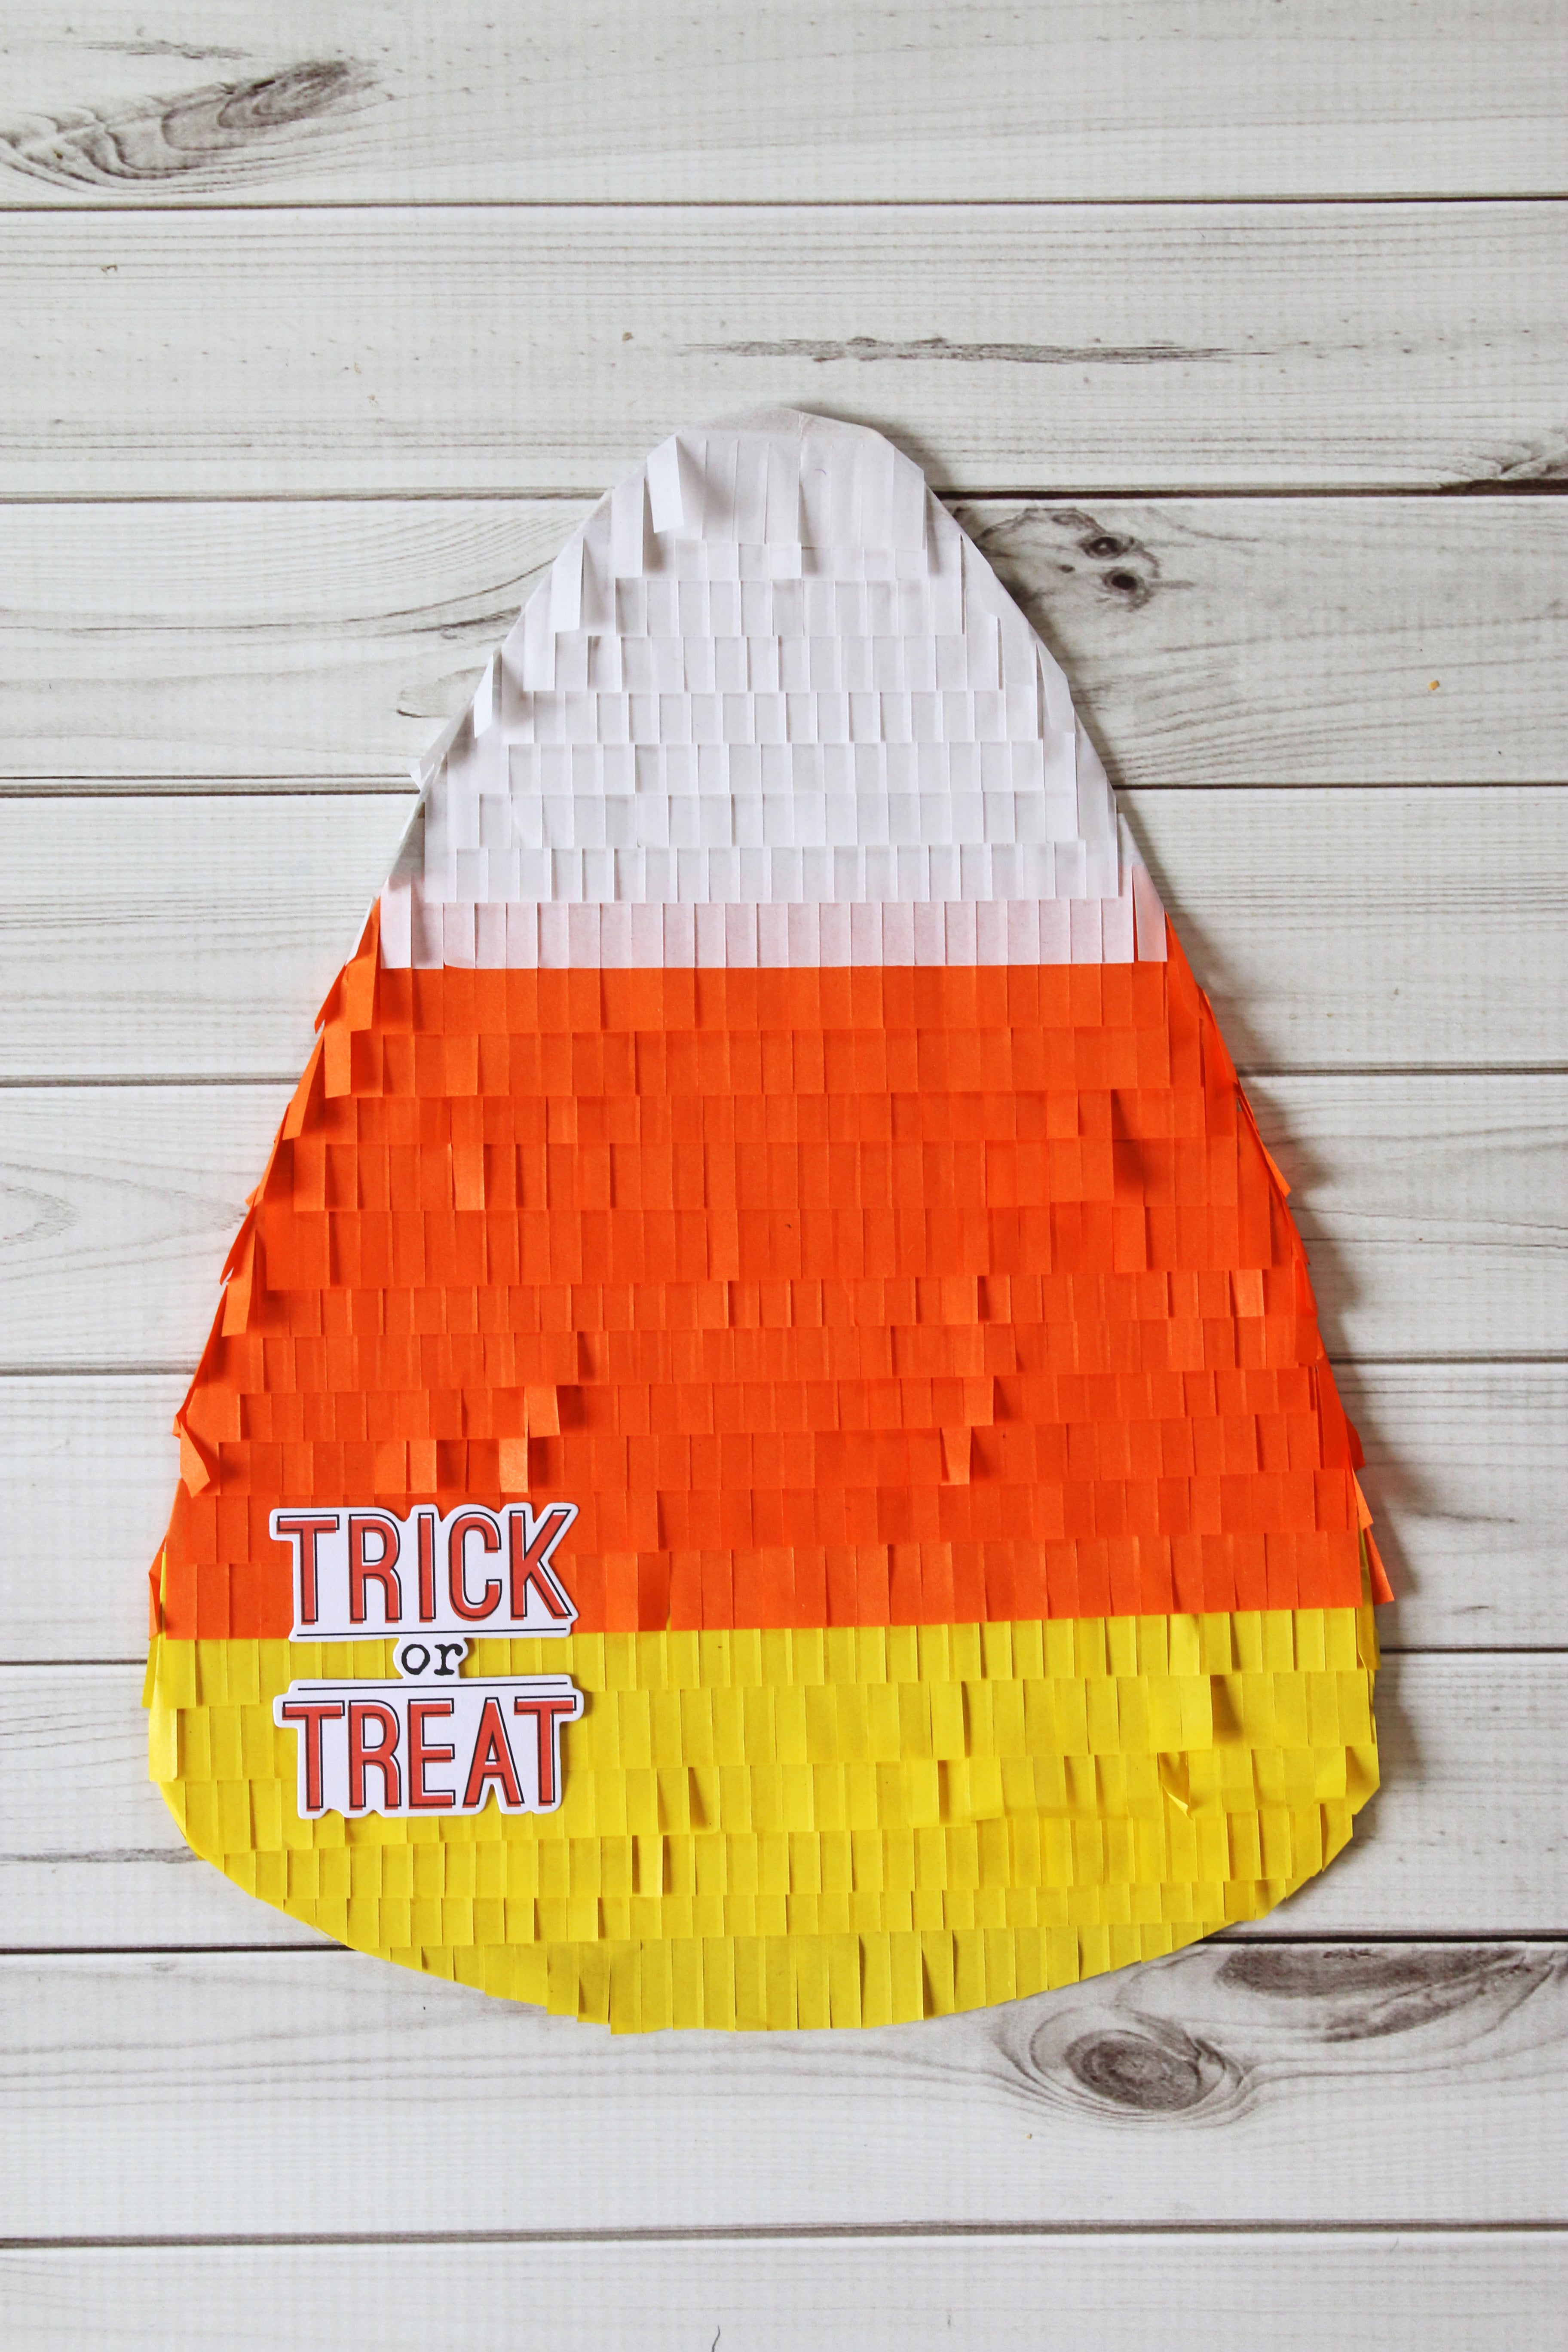
I don’t know if there’s a Halloween candy that’s more debated than candy corn, but love it or hate it, candy corn makes adorable inspiration for this Halloween décor piece.
MADE BY: SAMANTHA TAYLOR | TIME: 20-30 MINUTES
LEVEL: BEGINNER OR INTERMEDIATE | SIZE: 9"x11.5"

Supplies:
- Glue Dots® Permanent Glue Squares
- Glue Dots® Removable Glue Squares (optional)
- Chipboard
- Candy Corn Template (optional)
- Orange Paper Fringe (or tissue paper)
- Yellow Paper Fringe (or tissue paper)
- White Paper Fringe (or tissue paper)
- Scissors
- Trick or Treat Die Cut
Directions:
- Cut a candy corn shaped base from a piece of chipboard. If you can draw, you can do this by hand yourself. However, if you can’t draw use Removable Glue Squares® to hold your template in place on your chipboard, then cut around the template with a scissors.

- Use Permanent Glue Squares® to attach fringe to your chipboard base. Start from the bottom and work your way up.
*I bought pre-made paper fringe; however, you can make your own fringe with tissue paper and a scissors (or a fringe scissors). - Flip your candy corn to the back (wrong) side and use your scissors to trim any fringe that sticks out past the bottom or sides of the candy corn.

- Use Permanent Glue Squares® to attach a Halloween die cut (Trick or Treat or Happy Halloween works well) to the front side of the candy corn décor.

Notes:
I chose Glue Squares® for this project because the small size was perfect on the slim edges of my tissue paper. Additionally, they adhere to a variety of mediums including tissue paper, chipboard, and paper.
If you find you like working with fabric better, swap out the paper fringe for pleated or ruffled ribbon. Glue Squares® work great on fabric, too!
I went big for this home décor piece, but you could make these much smaller (3” x 4” or so) and use them at place settings on a Halloween tablescape.